


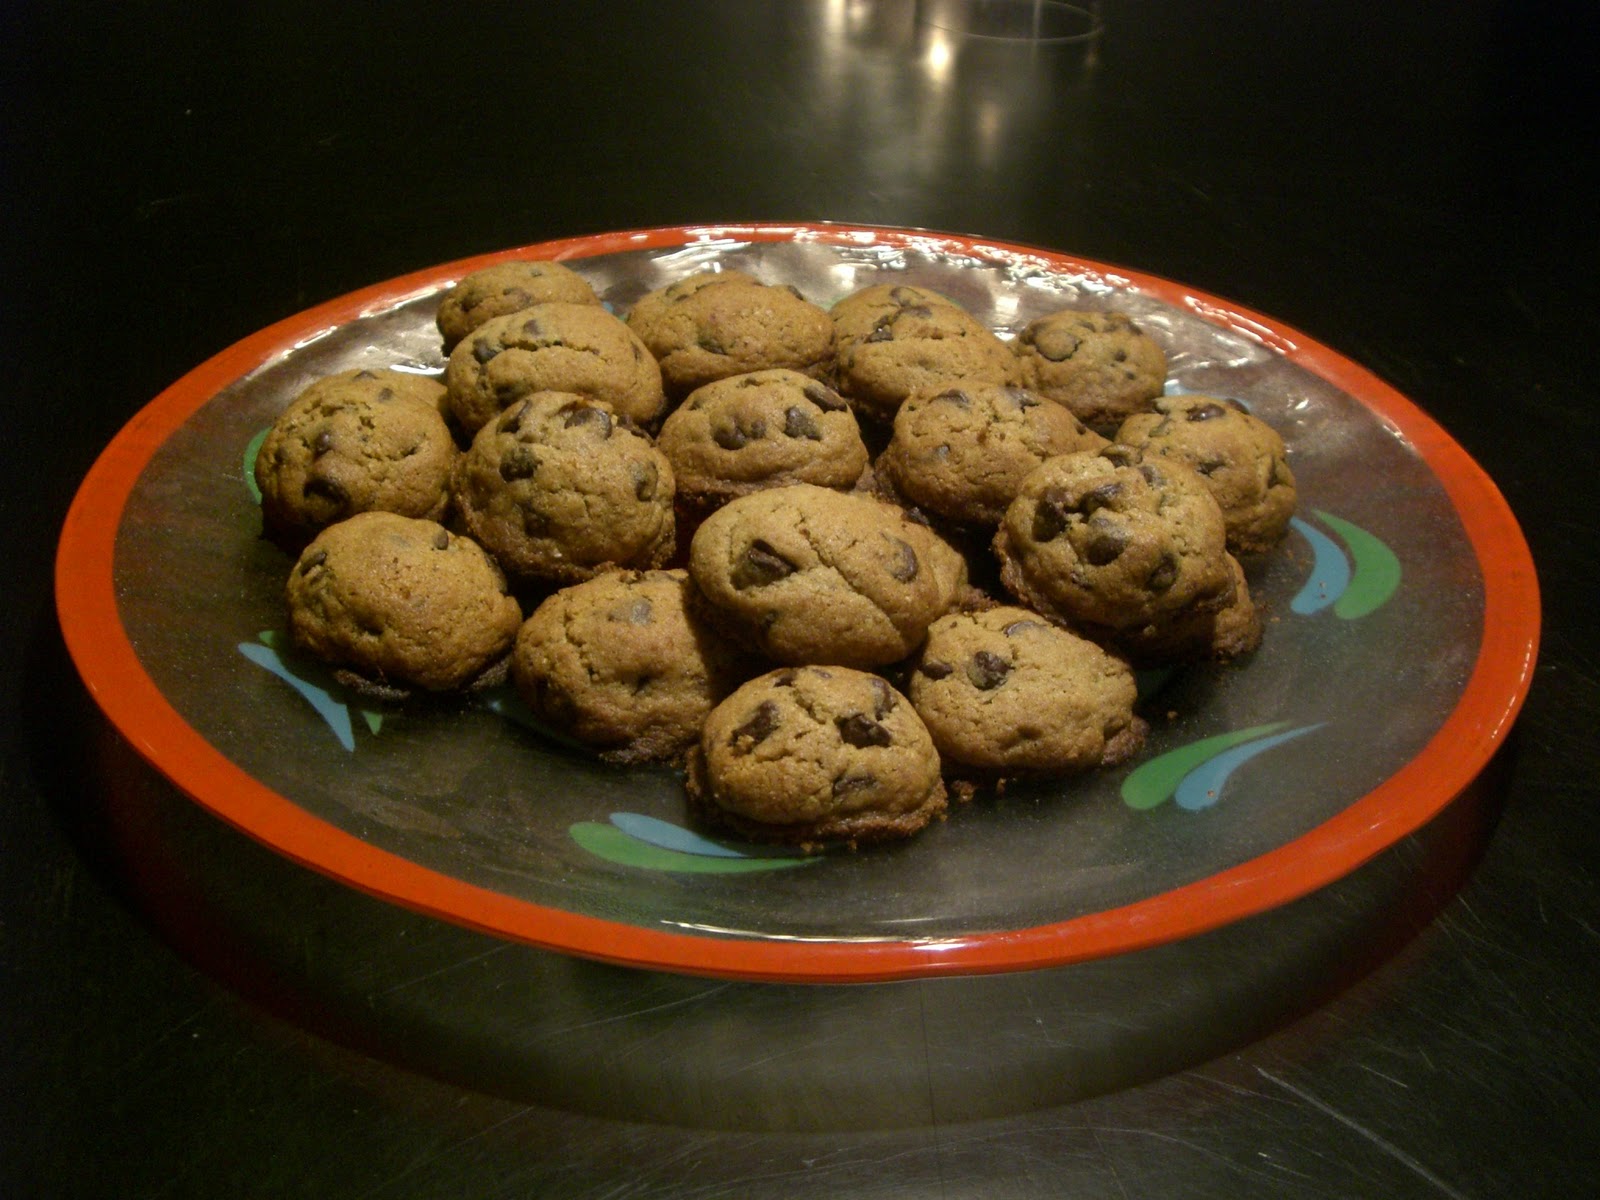
 I love these cookies because they are simple and delicious and have an appealing look to them. They are somewhat healthier than other chocolate chip recipes because they're not too sweet and are made with whole wheat flour.They're charming because they're small but tall little cookies and if they're done right they'll crack open slightly during baking giving them a somewhat 'old fashioned' look.
 Ingredients:
- 3/4 cup of brown sugar
- 1/2 cup unsalted butter
- 2 eggs
- 1 tablespoon vanilla extract
- 1/4 cup olive oil
- 2 cups whole wheat flour
- 1 teaspoon baking soda
- 1 package semi-sweet chocolate chips

Before baking, leave the butter out to soften. After the butter has softened, stir it together with the brown sugar in a large mixing bowl until creamy. Add the eggs, vanilla and olive oil and stir the mixture until it's runny. Next add the flour and the baking soda and then stir in the chips.
Place the bowl of dough into the fridge for at least one hour to allow it to cool and thicken. Preheat the over to 350 degrees. Once an hour has passed and the dough is cold and firm to the touch, use a spoon to scoop out small amounts and then use your hands to roll the dough into balls about the size of chestnuts. Place the balls on an ungreased 12" X 18"baking sheet (making approximately 3 rows of 4.) Put the baking sheet into the fridge and cool for 5-10 minutes.
 Place the baking sheet in the oven on the second to highest rack setting for 9 minutes, and then remove and let cool. Do not put dough into the oven that is runny or sticky because it will cause your cookie to 'pancake' during baking and possibly burn the edges. The drastic change in temperature during the baking of cooled dough allows the cookie to set in a bubbly round shape and develop a slightly cracked open surface.
Tips:
- Place balls of cookie dough onto the baking sheet so that the side with the most chocolate chips is face up. This will make the cookies look great after they're done.
- If any edges of the cookies are burnt or overcooked, gently trim them down using a spatula or a butter knife.
- Make sure to store these cookies in a sealed container otherwise they will dry out and lose flavor.


